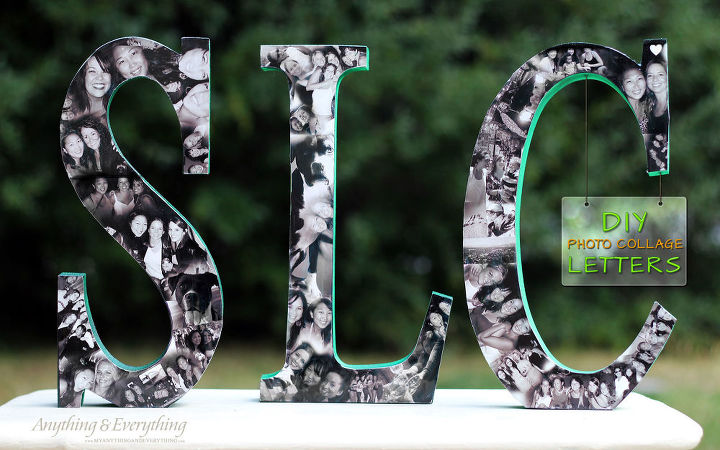
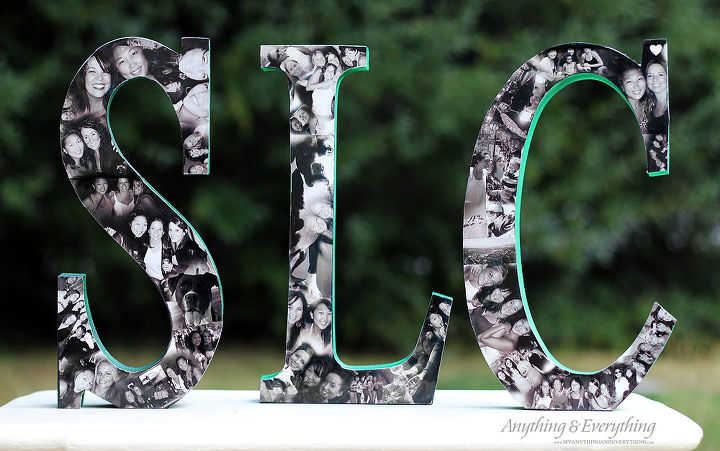
Home decor wooden letters can spell out baby names on the wall of a nursery, form a monogram or accent custom wreaths. These letters come in a wide variety of sizes you can buy painted and finished or opt for raw wood letters from your local arts and crafts supply store. For a one-of-a-kind custom look, decorate them by hand to coordinate them with your existing decor.
Things You'll Need
- 220-grit sandpaper
- Tack cloth
- Paintbrushes
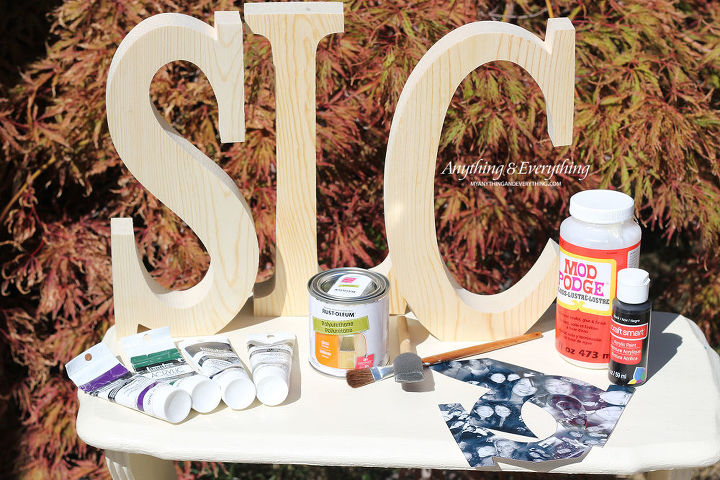
- Primer
- Spray paint or acrylic hand paints
- Sealant
- Painter's tape
- Stencils
- Pencil
- Thumb tacks
- Scrap cardboard or an old box
Prepping the Letters
Raw wooden letters are sometimes a little bit rough. Lightly sand them with fine-grit sandpaper working in the direction of the wood grain. Run your fingers along the sanded surface occasionally to test for smoothness. Once the wood is smooth, wipe off the dust with a tack cloth.
Prepare the wooden letter for painting by covering it with a primer coat on all its paintable surfaces. If you avoid this step, your finished letters might have a blotchy paint appearance because of how some woods soak up the paint.
The Paint Choice
You can choose to spray paint the wooden letters or paint them by hand. Acrylic spray paints provide an excellent base coat on which you can paint artistic details by hand. Depending upon what you envision for your finished look, there are many different paint options from which to choose.
Spray Paint
Spray paint is available in many different colors and comes in can with a spray nozzle. If you want a solid color for your letter, this is a fast and effective way to get even coverage.
Warning
If you elect spray paint, follow manufacturer instructions. Paint outside or in a well-ventilated area and wear a face mask. For best results, paint in temperatures that range from 50 to 90 degrees Fahrenheit.
Acrylic Paint
Acrylic paint comes in small paint bottles or tubes in virtually any color imaginable. Embellish your wooden letters with your own hand-painted designs or use painter's tape and stencils. Match your acrylic paint to bedding, textiles, or other elements of your room design. When you know how to mix paint colors using the artist's color wheel, you can easily create a close enough match.
If working freehand, draw your design onto the letter with pencil prior to painting.
Painting Wooden Letters
Step 1
Push thumb tacks into the back of your letter every 6 inches or so. When you place the letter down on top of the table it will be elevated slightly so you can paint the top and sides of the letter. Cover the table with cardboard, plastic sheeting or a dropcloth to protect it as you paint.
Step 2
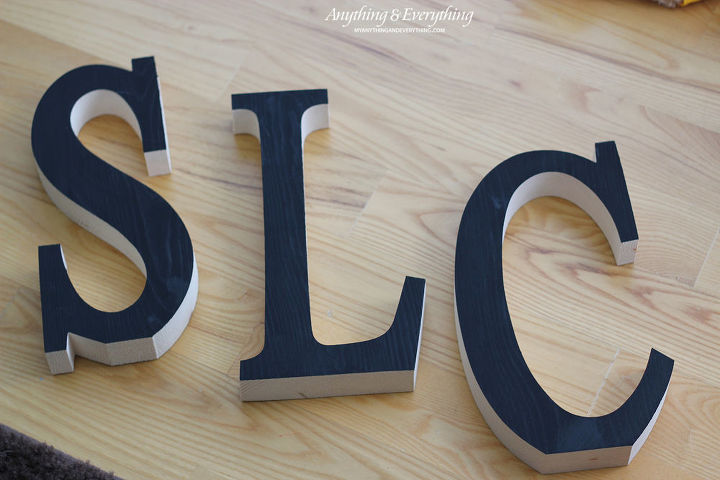
Apply the base coat either by spray-painting or hand-painting the letters. Cover the entire surface evenly. Allow the base coat to dry, from 20 minutes to an hour before applying a second coat, based on the specific paint's drying times.
Step 3
Embellish each letter with the chosen designs. For stripes, tape the letter using painter's tape in equal dimensions the size of the stripe. You can also use a stencil brush or a foam pouncer as an alternative for adding shapes, if you do not have freehand drawing skills.
Step 4
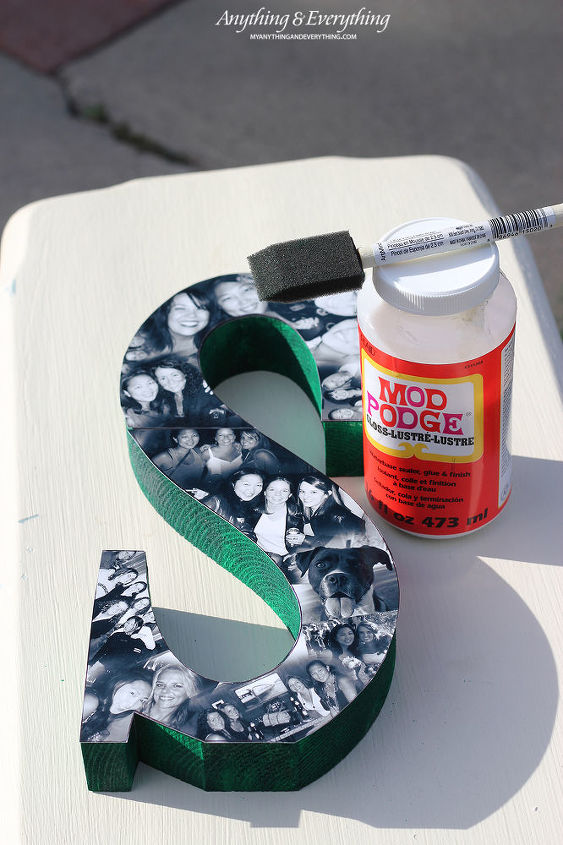
Paint the individual designs onto the letters and allow the paint to dry overnight before applying a sealant finish.
Step 5
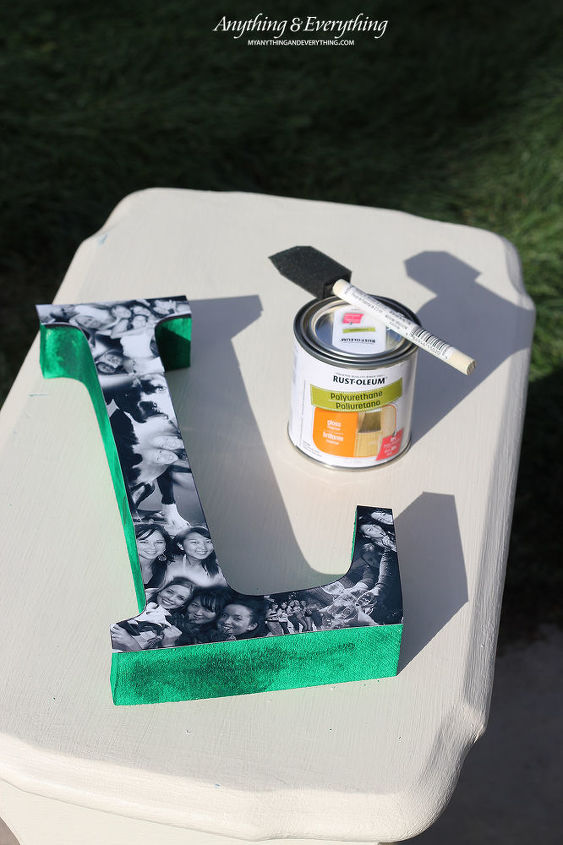
Apply a spray sealant or other protective finish by hand to your completed letters.
Tip
Spray paint the letters using a consistent horizontal motion. Spray on multiple light coats to avoid runs. Clean the nozzle of the spray can by holding it upside down and depressing the nozzle for 5 seconds.


 Sae
Sae